Setup
To start using eyewitness, we need to configure it first. Now, we will see how we can configure the package to start the error reporting.
Configure Module
As our first step, we need to import EyewitnessModule module first to AppModule class.
So, there are basically two steps to configure the package:
1. Static Configuration
2. Dynamic Configuration (Recommended)
There will be cases in your project, where you are loading your environment and project configurations from different places and asynchronously. So, you can configure your module like dynamic module, ie load configurations asynchronously.
info
We recommend using a seperate eyewitness.config.ts.
To learn more about the ConfigService and its fundamentals, please head over to configuration section.
info
The EyewitnessModule gets registered in Global Scope, so once configured, it can be used wherever your exception filter resides.
Now that you have loaded your module, it is now time to create an exception filter before we can start using eyewitness 👀.
Create Exception Filter
note
If you already have an exception filter, please feel free to skip to next step.
For those, who don't have an exception filter, can head over to exception filters section in NestJS website, it explains on how to create and use one.
info
We recommend, using a global exception filter, so that eyewitness watches as much as exceptions possible.
Use Eyewitness
We have created exception filter, and now its time to use Eyewitness in it. In following steps we will explain how to start using Eyewitness.
And boom 💥 ! You have now configured eyewitness. Simple, right?
Test it out
Now, as a good step, you should now test your configuration.
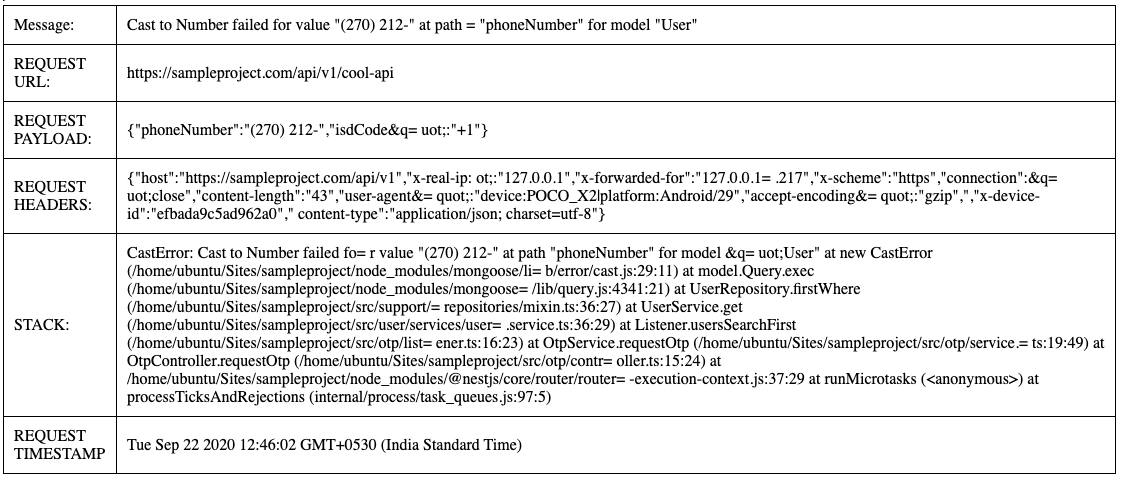
To keep it dead simple, throw an exception from any of the apis in your local/staging environment and see the magic unfold. If everything works out well, you will receive an email in your inbox, like the one below:
